My Eyebrow Routine
I've had a few requests to do a tutorial on my eyebrow routine, and I'm so happy to share this with you! My eyebrows haven't always been fabulous. In high school, like many other girls, I went pluck happy and became a victim of sperm-brows. You know the ones I'm talking about. I finally smartened up and grew out my brows a little more to fill them out, but I was still a little clueless as how to shape them and fill them in properly.
Finally, when I attended makeup school, I actually realized how to PROPERLY shape and fill in my brows. It was pretty life-changing, really. You should have saw my reaction on brow-day in class. "What do you mean that you can TRIM and SHAPE your brows?!?"
Magical.
So, let's give you a before shot, so you can see what I'm working with. I put a full face of makeup on so you can see just how important eyebrows are to your final look.
As you can see, there's not really much natural hair, so I have a lot of filling and shaping to do. I'm so jealous of girls with thick natural brows, but I'm too scared to grow them out, so I've learned to adapt!
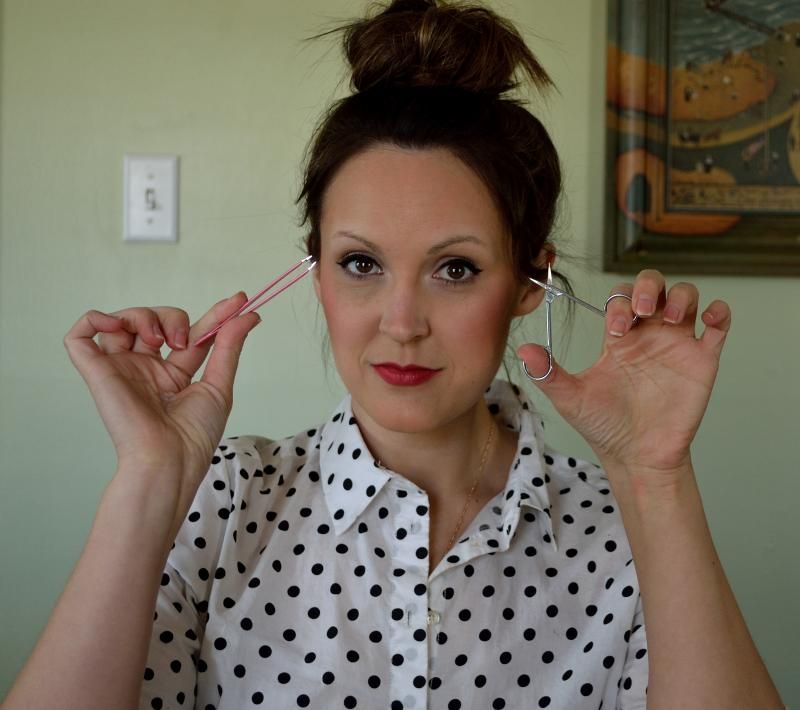
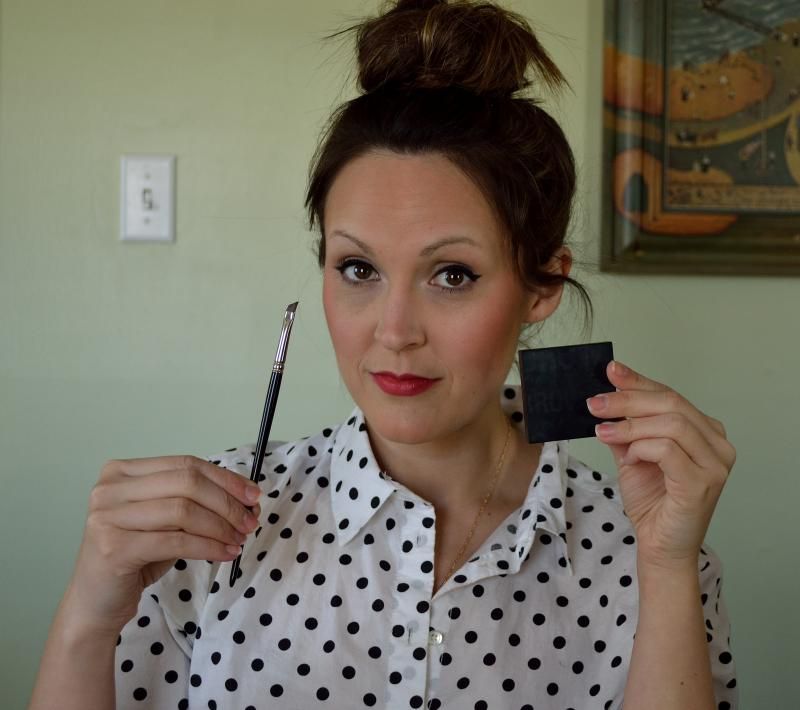
Okay, so here are the tools that I use to shape and fill in my eyebrows:
Tweezers and cuticle scissors
An angled brush and Benefit Brow Zings...I use Dark.
Step 1: Trim the eyebrows
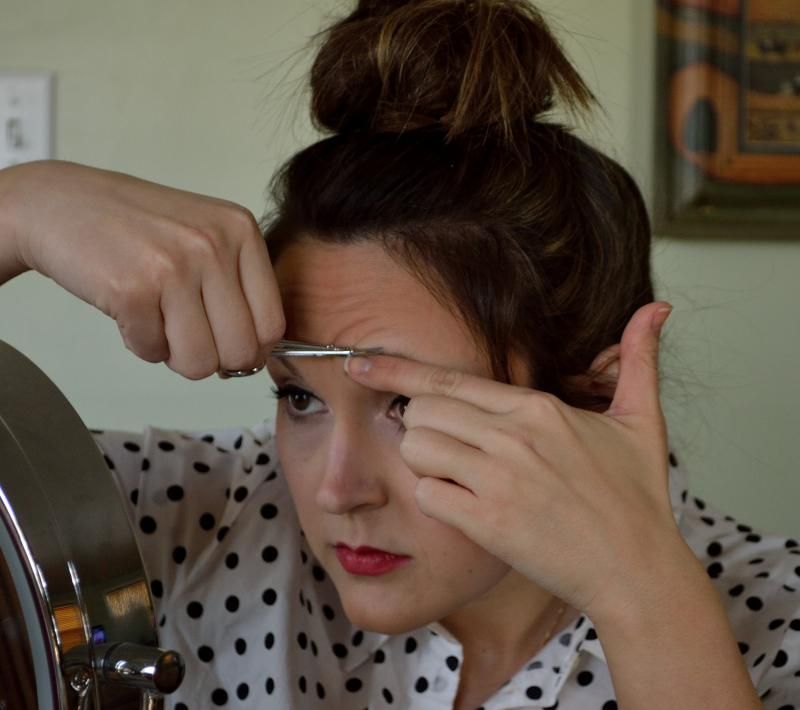
Here's what my instructor Rob taught me in makeup artistry school. Take your index finger and push all of your eyebrow hairs upward; hold your finger there and trim all of the hairs that stick up above your finger with cuticle scissors. Do this the entire length of your eyebrow.
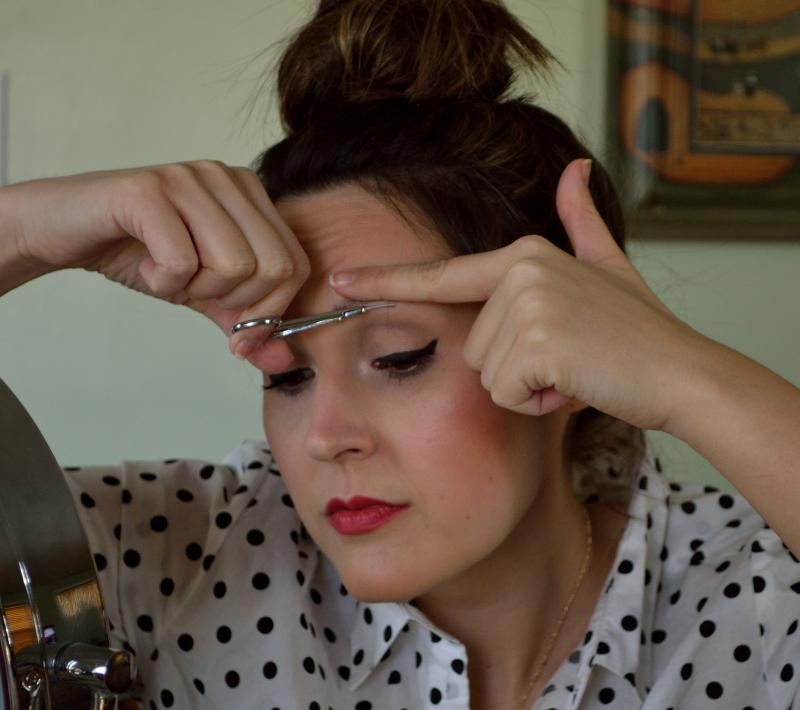
Next, take your index finger and push your eyebrow hairs downward and hold them there; trim the excess length with the cuticle scissors. This step is crucial to make sure that you don't have any rogue long hairs sticking out of your well-manicured eyebrows. This was the step that I never knew existed and I am so happy to pass along to everyone!
Step 2: Tweeze
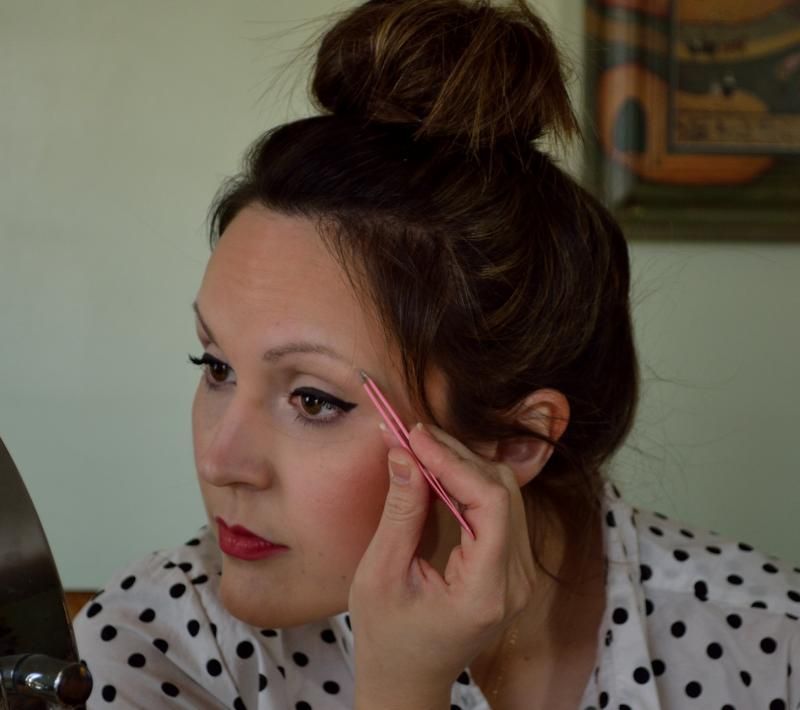
Tweeze all of the random little hairs that pop up to make for a nice and clean surface.
Step 3: Fill in!
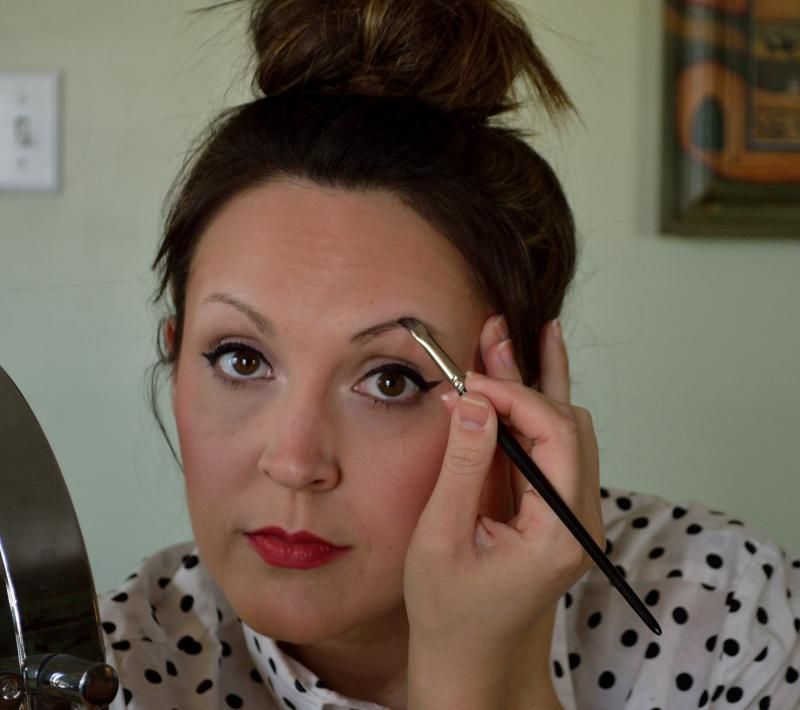
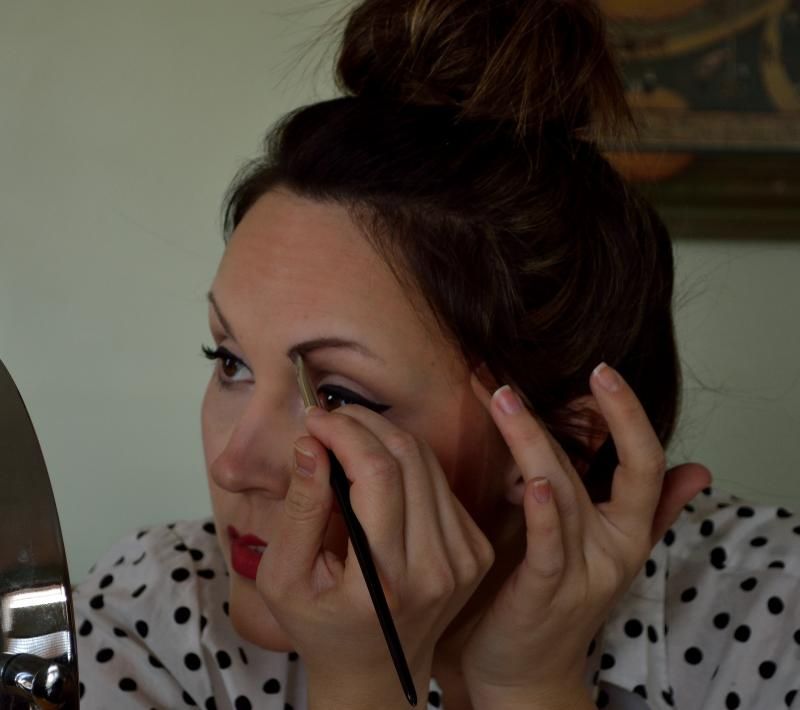
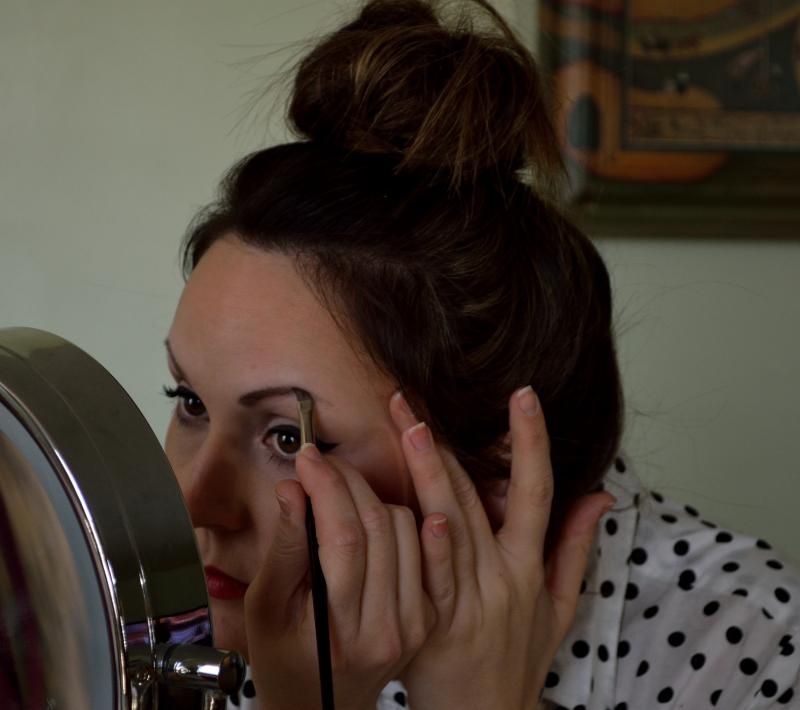
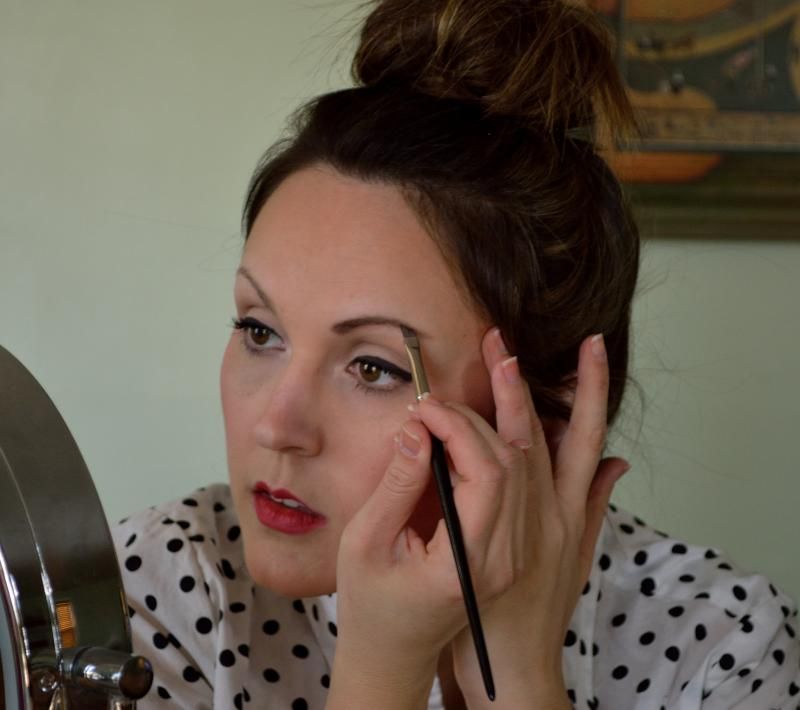
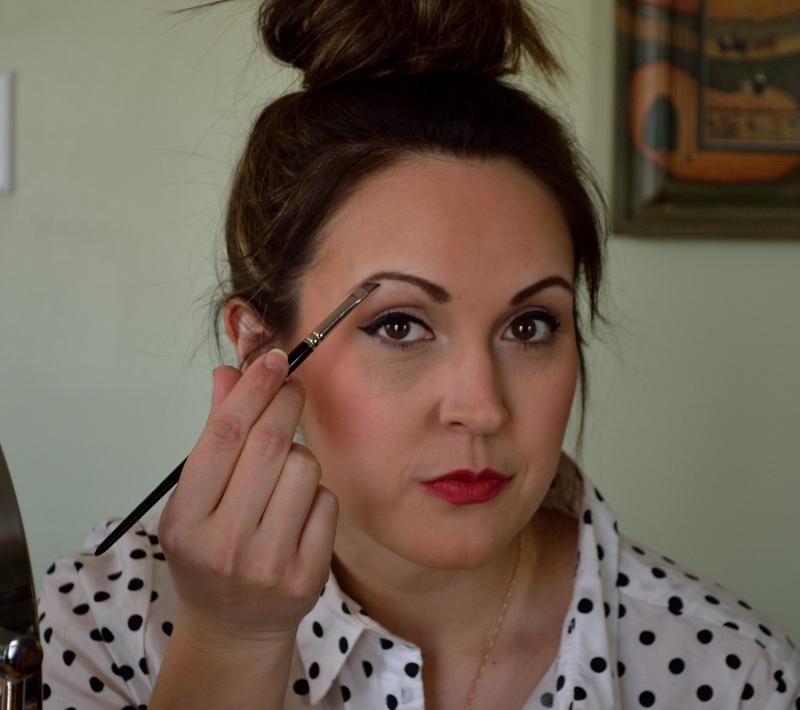
One of the reasons that I use Benefit Brow Zings is I love the combination of the powder and the colored wax. When I start to fill in my eyebrow, I load my brush up with powder and then swipe over the wax, so my eyebrows stay in place and the color lasts all day. I start by drawing a line up the top of my eyebrow and then fill in underneath. I like to get a nice, sharp, clean line.
Once I get the front part of my brow filled in, I go ahead and start on the tail portion, making sure to reload my brush with powder and wax.
And here we go!
Step 4: Repeat on the other side
Rob also taught me, "Eyebrows should be sisters, not twins." After I complete both brows, I like to go back and tweak anything that needs more color, less color, stronger line, etc. Make sure that they look similar, but they don't have to look EXACTLY alike.
And that's my eyebrow routine in a nutshell!
